So you’ve decided to get an exercise bike. Whether you’re cycling to get fitter, leaner or faster, it’s important to take care of your gear — in this case, a brand new stationary or spin bike.
While an exercise bike is easier to maintain than an outdoor bicycle (no tires to inflate!), you still want to give your cardio machine a bit of TLC. After all, you don’t want it to break and become a glorified towel rack.
This one-stop guide includes everything you need to know about taking care of an indoor bike, from assembly and setup to periodic maintenance.
Let’s get started:
How to set up your exercise bike
If you’re trying to get in the habit of cycling, having a proper setup ensures that you’ll want to come back and work out every single day (almost).
It all starts with space. Make sure you have enough room on both sides of your bike so you can get on and pedal comfortably. It’s also a good idea to set your bike on a thick exercise mat, which protects the floor from sweat while reducing noise and vibration. (Your family and neighbours will thank you.)
(Need an exercise mat? We got one here.)
Once you’ve got enough space and a mat, it’s time to think about your comfort. No pain, no gain doesn’t apply here — you want to make sure you’ve got everything you need to keep pushing your limits. This includes:
- A fan to keep you cool
- A water bottle for hydration
- Two towels (One for wiping sweat and one for cleaning the bike)
- Entertainment options (Tablet? TV? You choose.)
Indoor cycling is one of the most intense cardio workouts you can do, so expect to sweat a LOT. Using a stand or clip-on fan will help you stay cool while giving that sensation of riding against the wind. (You can skip the fan if you have an air resistance bike).
Hydration is also important. If your bike has a bottle holder, great; if not, just keep your water or sports drink wherever you can easily reach it.
Finally, a phone, tablet or TV provides much-needed entertainment, especially on those monotonous rides. You can also use them to follow virtual cycling workouts.
Depending on how you like to ride, you may also want other accessories:
- Headband
- Wristband
- Wireless earphones
- Phone mount
Before your first ride
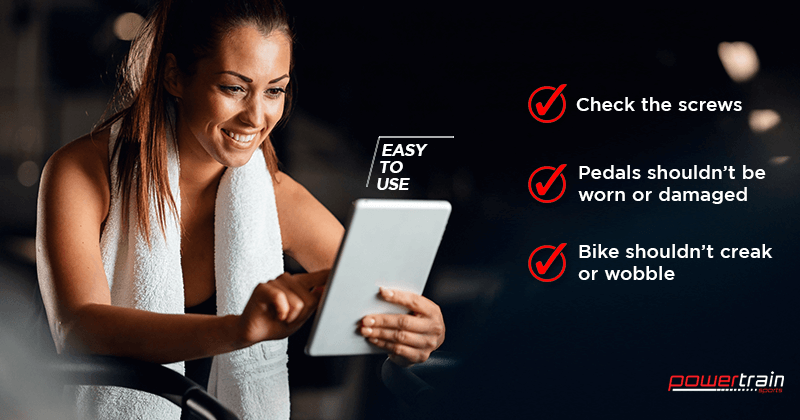
Once you’ve got your indoor cycling setup, it’s time to check your bike. Make sure all the screws are tight and that the bike is stable on the floor or mat. The pedals shouldn’t be worn or damaged, and they should move smoothly without creaking.
It’s also a good idea to double-check the assembly guide and manual — you want to make sure that everything is right before your first indoor bike workout.
When it’s all good, that’s your go signal to hop on and ride.
How to get the correct bike fit
If your exercise bike ‘doesn’t feel right,’ you probably need to adjust the seat or handlebar. Here’s how to fit your spin bike for a more comfortable ride:
Saddle
Depending on the bike, the saddle can be adjusted up to three ways: height, tilt and distance.
- Height — Stand next to the stationary bike and bring the saddle up to your hip bone. Then, test out the bike. If you feel a bit of knee pain, the saddle is too low; if you feel like you don’t have enough leverage, the saddle is too high.
- Tilt — Most of the time, you’ll want to keep the saddle in a neutral position (at least for an exercise bike.) You’re not going to do any uphill or downhill rides — so try to keep the nose of the saddle level with the back. If you really need to adjust the angle, make sure you’re not slipping to the front or back when you ride.
- Distance — The distance of your saddle to the handlebar affects your posture and performance. When sitting on the saddle, you want your spine to be neutral (not hunched or arched) in a 45-degree angle, and your elbows and shoulders to be slightly relaxed.;
Handlebars
For most people, having the handlebars on the same level as the saddle ensures a comfortable ride. If this doesn’t work for you, find the ideal handlebar height by sitting on the saddle. Ideally, you want to be leaning around 45 degrees forward, with a neutral spine and your elbows slightly bent. You don’t want your elbows to be fully straight, as it can lead to fatigue earlier.
Keep in mind that these adjustment tips are for spin bikes — you want to stay fairly upright on a stationary or air bike. You should also learn about common spin bike setup mistakes and how to avoid them.
Types of exercise bikes
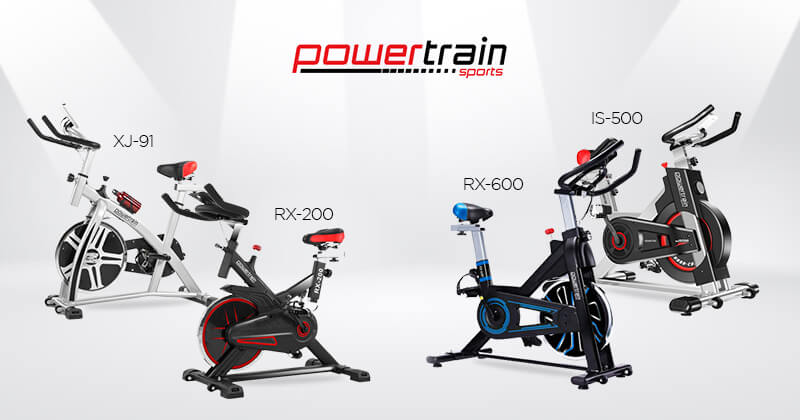
Checking your exercise bike regularly will help it remain in good condition for years. That said, there are some maintenance tasks that you have to do more often (as much as after every use).
But before we dive into these tasks, it’s important to know what type of indoor bike you have. These are the four most common types:
Stationary bike
These beginner-friendly bikes are perfect for anyone looking to improve their overall health and fitness. They have a more ‘laid back’ riding style, which means you’ll be sitting upright as you cycle. These bikes have a magnetic or friction-based resistance system to allow for a variety of workouts.
Spin bike
Spin bikes are designed for use in short, intense sessions (such as in a spinning class). The design closely mimics outdoor bikes, making them ideal if you already cycle and just want to bring your training indoors. Like stationary bikes, they can also have a magnetic or friction-based flywheel.
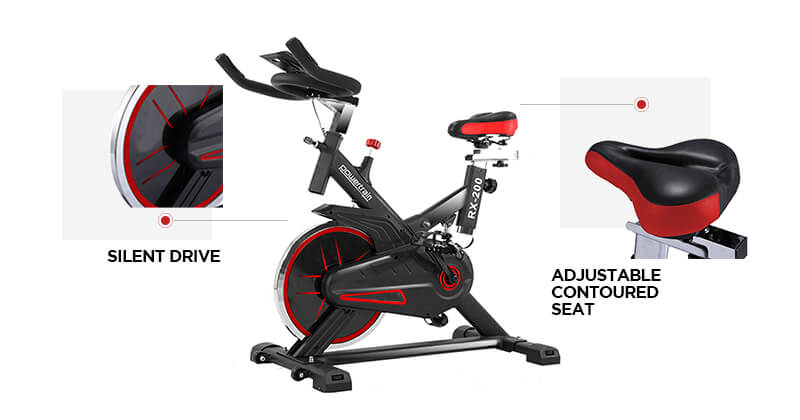
(Want to create your own indoor cycling studio at home? Check out our spin bikes here.)
Air resistance bike
These indoor bikes have a giant ‘fan’ that generates wind resistance as you pedal. This means it doesn’t have traditional resistance levels — instead, you have to fight against the wind to keep the flywheel moving.
Turbo trainer
Want to use your outdoor bike for indoor training? Smart turbo trainers attach to the bottom of your bike, converting it into an exercise machine. Some high-end models also have smart features, allowing you to measure your speed, RPM and other interesting data as well as adjust the resistance level.
How you maintain your bike will depend on what type you have and the resistance system and drive system it uses.
Indoor bike resistance systems
This refers to the system that makes the flywheel easier or harder to pedal. There are two types:
Friction-Based
This system uses felt brake pads around the flywheel to create varying levels of resistance. When you select a harder level, the pads will press down on the flywheel to ‘slow it down,’ making it harder to pedal. Bikes with this resistance system are more affordable, but you’ll want to replace the felt pads as soon as they become worn.
Magnetic
As the name suggests, a magnetic resistance system uses b magnets that ‘pull’ on the steel flywheel — making it harder to pedal. This type of system requires very little maintenance as long as you keep it clean.
Indoor bike drive systems
This refers to the system used to ‘drive’ the flywheel as you pedal. Often, the drive system is housed inside a cover — so you’ll want to check the manual or remove the cover to know what type your bike has.
Chain-driven
This system looks just like what you’d find in a traditional outdoor bike. Because it’s made up of many small moving parts, dust can accumulate in the crevices and cause the drivetrain to catch. For a chain-driven spin bike, you’ll want to keep a good, non-abrasive lubricant on hand.
Belt-driven
Belt-driven systems are rising in popularity because they’re quieter and lighter than chains. However, they’re not maintenance-free — you still need to clean and lubricate the belt every few months to keep it running smoothly.
Exercise bike maintenance checklist
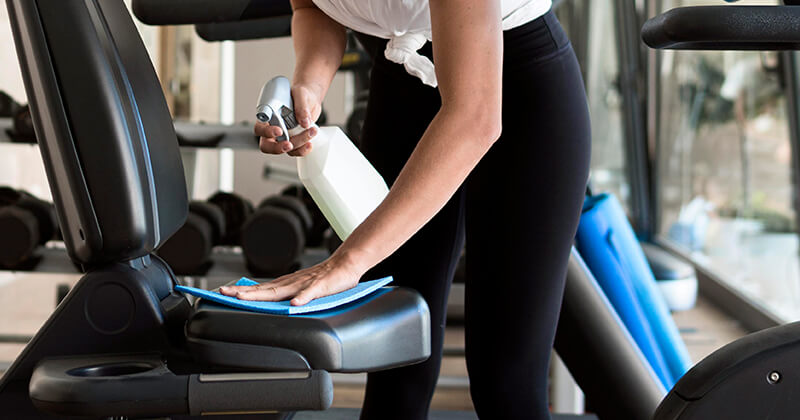
Keep your bike in good working condition by following this maintenance checklist:
After every use
- Spray a mild cleanser on a cloth and wipe the entire bike down. Wipe sweat off the frame, focusing on high-touch areas like the saddle, handlebars, resistance knob, console and pedals.
- Turn the resistance all the way down. This helps aerate the bike and prevent rust from forming around the flywheel.
Weekly maintenance
- Clean the flywheel thoroughly. Spray a mild cleanser on a cloth and rotate the flywheel as you wipe it.
- Remove the saddle and handlebars. Wipe down the posts and allow them to fully dry before reattaching to the bike.
- Check that all screws are secure. This includes the pedals, crank arms, drivetrain cover and all other exposed connections. Make sure to tighten any loose screws or bolts.
- Check that the base is stable. If the bike is uneven, adjust one of the feet until the frame stops wobbling.
- For air resistance bikes: clean the fan and housing with a damp cloth.
Monthly maintenance
- Lubricate the adjustment knobs for the seat and handlebars. You can use any non-abrasive silicone oil (the same oil used to lubricate treadmills). Make sure to wipe off any excess oil from the bike afterwards.
- For chain-driven bikes: clean and lubricate the chain. Unscrew the drivetrain cover to access the chain and put a drop of silicone oil on each roller. Once done, rotate the pedals to distribute the lubricant, and wipe off any excess.
- For belt-driven bikes: clean the belt with a damp cloth. If the belt has slipped from the gear, you may need the help of a bike technician to replace it.
As needed
- Replace the console batteries.
- For friction-based exercise bikes: replace the felt brake pads when they are worn. You’ll want to replace them when your usual resistance setting doesn’t feel as ‘heavy’ as it used to be.
- Lubricate the flywheel. Put a few drops of silicone oil on a cloth, press it against the flywheel and rotate the pedals a few times.
- For magnetic exercise bikes: check that all magnets are in place and test the resistance settings.
To wrap up
An indoor exercise bike is a big investment in your overall health and fitness. It’s important to set it up properly and perform regular maintenance to ensure that you make the most of your investment. With proper setup and care, your bike won’t only stay in good condition — you’ll also enjoy the many benefits of cycling for years to come!
